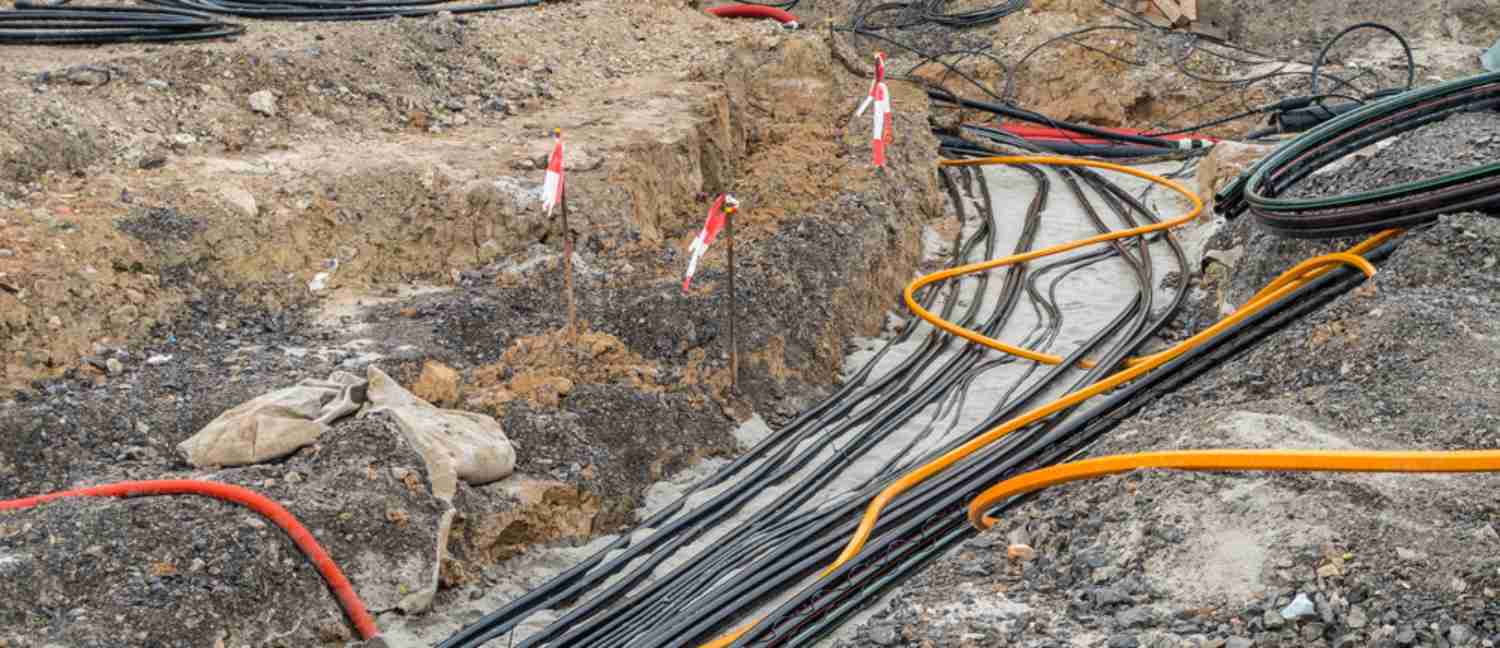
As professionals working with underground utilities or homeowners who need to locate buried cables, understanding the process of finding underground cables is crucial. Whether you’re dealing with electrical lines, communication cables, or water pipes, the right techniques and tools can make the task easier and safer. In this comprehensive guide, we’ll walk you through step-by-step instructions on how to find underground cables effectively.

1. Selecting the Right Locator
Before you start your cable-hunting adventure, ensure you have the right tool in hand. Cable locators, also known as utility locators, come in various types. Here are some common ones:
- Electromagnetic Locators: These devices detect electromagnetic fields generated by underground cables. They work well for metallic cables but may struggle with non-metallic ones.
- Ground-Penetrating Radar (GPR): GPR uses radar pulses to create an image of subsurface structures. It’s excellent for identifying both metallic and non-metallic cables.
- Radio Frequency (RF) Locators: RF locators induce a signal into the cable, allowing you to trace its path. They work well for both active and passive signals.
2. Passive vs. Active Signals
Understanding the difference between passive and active signals is essential:
- Passive Signals: These occur naturally due to the cable’s electromagnetic field. Use the locator in null mode (where it makes no sound) to identify the cable’s path.
- Active Signals: For non-metallic cables or when passive signals aren’t strong enough, apply an active signal using a transmitter. This involves connecting the transmitter to the cable and inducing a detectable signal.
3. Applying an Active Signal
Follow these steps to apply an active signal:
- Estimate the Cable Path: Use common sense to guess the cable’s likely route based on utility boxes, poles, or other visible markers.
- Scan in Null Mode: Adjust the frequency and volume levels on your locator. Listen for the null signal (no sound) and mark the cable path.
- Switch to Peak Mode: In peak mode (where the receiver makes the loudest sound), compare the difference. Follow the null signal until you reach the connection box or endpoint.
4. Educated Guess on Cable Location
Sometimes, you won’t have precise information about the cable’s path. In such cases, use educated guesses based on existing knowledge of utility layouts and common routes.
5. Sweeping with the Locator
Hold the locator at a 45-degree angle and sweep the area. When you hit the null signal, mark the spot. Measure the distance from the tip of the locator to the marked location—this gives you the cable depth.
6. Marking Cable Locations
Use bright paint or flags to mark the cable’s path. This prevents accidental damage during excavation or construction.
7. Thumping Method for Fault Detection
If you suspect a fault in the cable, use the thumping method. Gently tap the ground above the cable and listen for changes in sound. A hollow sound could indicate a fault or damage.
8. Metal Detectors and Cable Locators
Metal detectors can help locate metallic cables, especially when combined with a cable locator. Sweep the area, and if the detector beeps, investigate further. If you’re unsure about a cable’s location or have a complex project on your hands, consider consulting a professional.
Here at Australian Survey Equipment, we understand the importance of reliable and accurate cable detection. That’s why we offer a variety of high-quality underground cable locators available for hire. Our user-friendly locators are perfect for both experienced professionals and homeowners tackling smaller projects.
Need to locate cables? Rent from Australian Survey Equipment and avoid costly mistakes.

